Difference between revisions of "Getting Started 4.2.0"
From OpenEMR Project Wiki
m (moved Getting Started 4.1.3 to Getting Started 4.2.0: There will be no 4.1.3.) |
|||
| Line 2: | Line 2: | ||
<br> | <br> | ||
<center><< [[OpenEMR 4. | <center><< [[OpenEMR 4.2.0 Users Guide|OpenEMR 4.2.0 Users Guide]] --- Next: [[Main Screen & Navigation 4.2.0|Main Screen & Navigation]] >> </center> | ||
Revision as of 20:11, 25 December 2014
Other languages — Help us translating this wiki
• Afrikaans • አማርኛ • العربية • অসমীয়া • asturianu • azərbaycanca • български • বাংলা • brezhoneg • bosanski • català • corsu • čeština • dansk • Deutsch • ދިވެހިބަސް • Ελληνικά • Esperanto • español • eesti • euskara • فارسی • suomi • français • Frysk • Gaeilge • Kréyòl gwadloupéyen • Gàidhlig • galego • Alemannisch • ગુજરાતી • Hausa • עברית • हिन्दी • hrvatski • Kreyòl ayisyen • magyar • հայերեն • interlingua • Bahasa Indonesia • Igbo • íslenska • italiano • 日本語 • Jawa • ქართული • қазақша • ភាសាខ្មែរ • ಕನ್ನಡ • 한국어 • kurdî • Lëtzebuergesch • ລາວ • lietuvių • latviešu • Malagasy • македонски • മലയാളം • मराठी • Bahasa Melayu • Malti • မြန်မာဘာသာ • नेपाली • Nederlands • norsk nynorsk • norsk • occitan • Oromoo • ଓଡ଼ିଆ • ਪੰਜਾਬੀ • polski • پښتو • português • português do Brasil • română • română (Moldova) • русский • سنڌي • සිංහල • slovenčina • slovenščina • Soomaaliga • shqip • српски / srpski • svenska • தமிழ் • తెలుగు • тоҷикӣ • ไทย • Türkçe • українська • اردو • oʻzbekcha/ўзбекча • Tiếng Việt • Wolof • isiXhosa • Yorùbá • 中文(简体) • 中文(繁體) • isiZulu
Getting Started
Getting to the Login Page
Enter in your web browser's address bar the URL of your OpenEMR installation. The URL will be in the fashion of:
with 'servername' being the name of the server where OpenEMR is installed.
If you're logging into OpenEMR on a single computer the URL may be:
If unsure of the URL, check with your computer services Administrator.
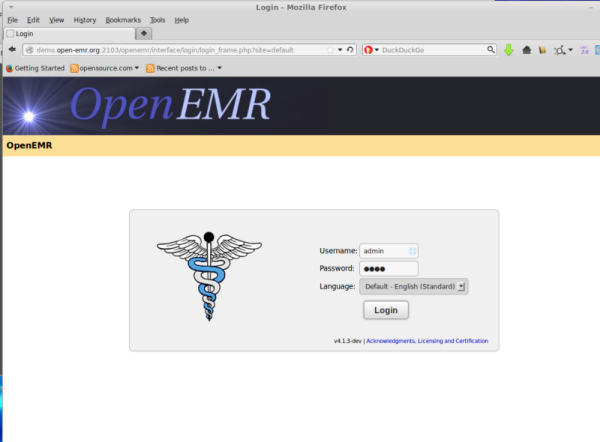
See the OpenEMR login page:
For this demonstration we will login with:
username: admin
password: pass (Note: the password is case sensitive.
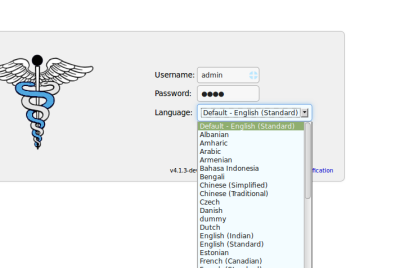
- If not using English select the language you want to use in OpenEMR:
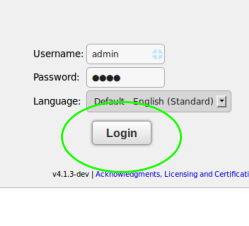
and click the Login button. (circled)
See the main OpenEMR screen (next section)


