HOWTO:Associate A Document Attachment To An Encounter
Introduction
The Documents tree feature has grown substantially in the past few years. These additions have been separately documented in various other wiki pages. This page looks at a recent upgrade which allows associating a file in a patient's document tree with a specific encounter. I'll do my best to not duplicate Document Tree features documented elsewhere.
Procedure
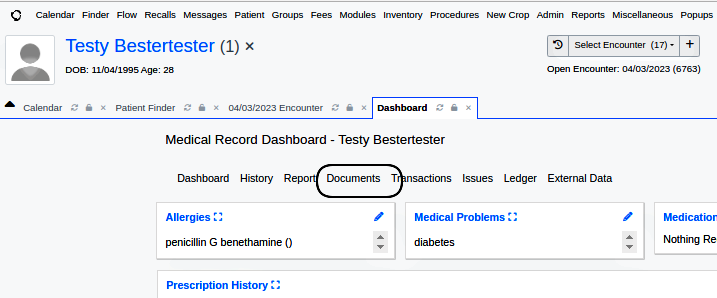
1. Open the patient's Documents in their dashboard
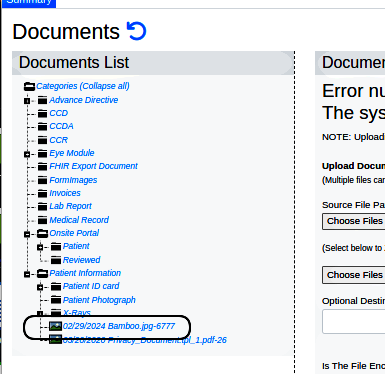
2. Locate and click on the target file in its category (image at right)
NOTE: the target file may already exist in the document tree; associating it to an encounter is not part of the upload process.
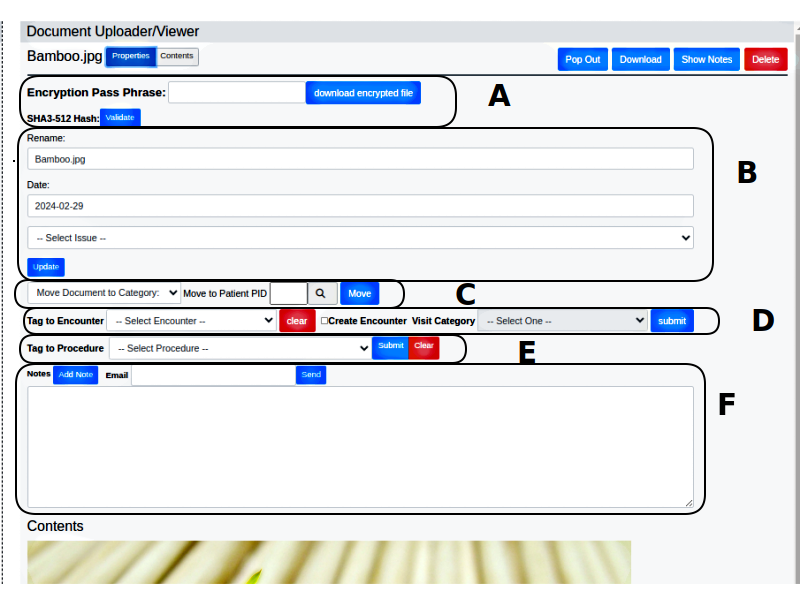
File opens with buttons along top (below)
- 'Contents' shows the file
- 'Properties' shows the controls you're looking for.
3. Click 'Properties'
- Controls are found on the panel (below) for multiple 'Properties' that can be set for the document.
- Each change in the file’s Properties is made separately, one at a time.
- To make multiple Property changes you must return to step 2 above for each change
- Click the execution button ('Move', Submit', 'Update' etc) of any property to effect the change in that property
- It may be difficult to differentiate which controls are for which functions
- Refer to the pictured round rectangles below
Briefly:
A. File encryption section: controls self- explanatory
- Click 'Validate' to finalize
B. Rename section - change file name and date as displayed in the document tree
- Click ‘Update' to set changes
C. Move document - changes location of file
- ' to Category' - select new document tree category
and/ or - ' to Patient PID- changes ownership of document to different patient
D. 'Tag to Encounter' is a dropdown list of all this patient's encounters.
- Select the desired encounter
- or may create a new encounter:
- Click checkbox 'Create Encounter' and choose the visit category from that dropdown.
- Click 'Submit' at end of line
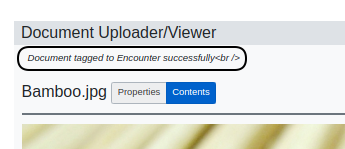
See success note at top:
E. 'Tag to procedure' - to relate the document to a procedure order
if the Procedure Order module is configured the available procedures will appear in the dropdown list
- Click 'Submit' in that line
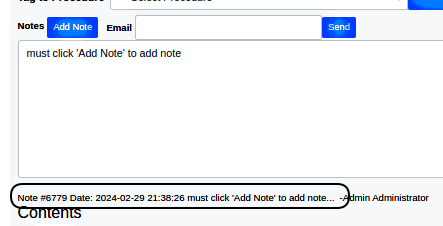
F. 'Notes' - enter freetext note in text area
- Click 'Add Note'
- 'Email' – demo email not configured so couldn't research this item
View In Encounter
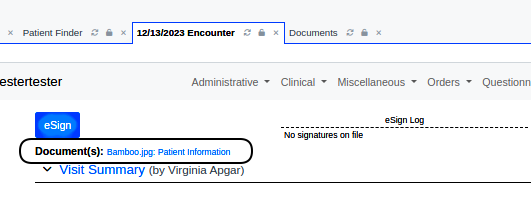
Open the desired encounter in the customary manner to see the attached file name and document category it is in.
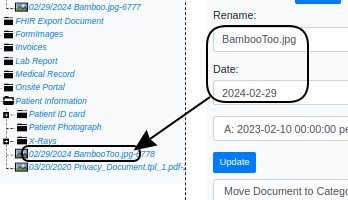
- Click on document name (link in round rectangle) to open and view the file (not pictured but is same view as Procedures step 2 above.)
View In Dashboard
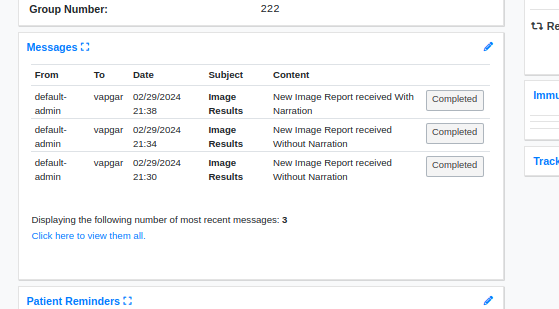
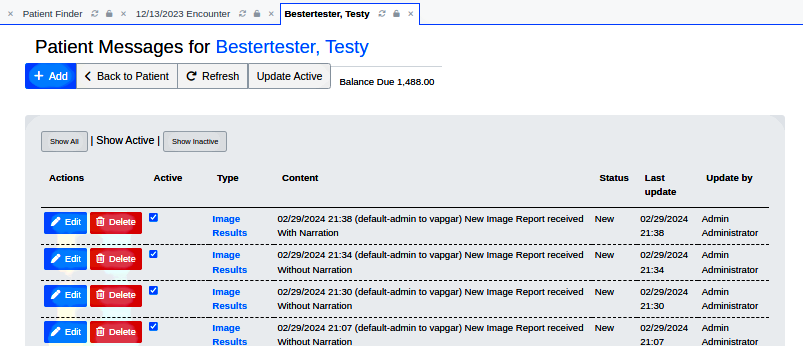
In patient dashboard open ‘Messages’
click edit pencil to find note re: attachment
- my three attempts to attach a file are all shown here
- ‘with/ without narration’ - indicates the attachment has the freetext note
- does not show what the message is. To see the note you’ll need to open the document.
You can open the patient's Messages module and see the same three uploads.
Conclusion
Remember the document category must have been created in the practice settings, as described in: OpenEMR_7_Practice_Settings#Documents .
