CQMs – import and calculate (MU3)
From OpenEMR Project Wiki
Import and Calculate
If you have been tracking your Clinical Quality Measures in another CEHRT (Certified Electronic Health Record Technology) system and wish to import your CQM data into OpenEMR and calculate eCQMs to submit to CMS you can do so by doing following this guide.
Pre-requisites
- That you have installed on your OpenEMR instance all of the code system types that your previous CEHRT used. We recommend you install the CQM Valueset.
- That you have followed all other instructions for using OpenEMR as a 2015 ONC CEHRT product.
Import Steps
- Export all of your patient data in your previous CEHRT system as QRDA Cat 1 files.
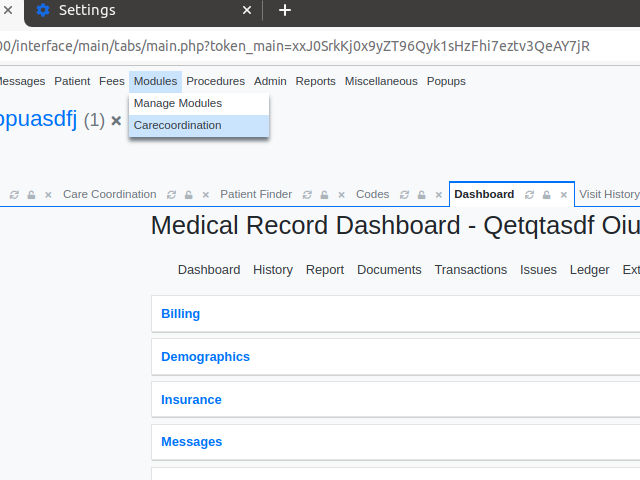
- Open the Carecoordination module from the Modules -> Carecoordination menu.
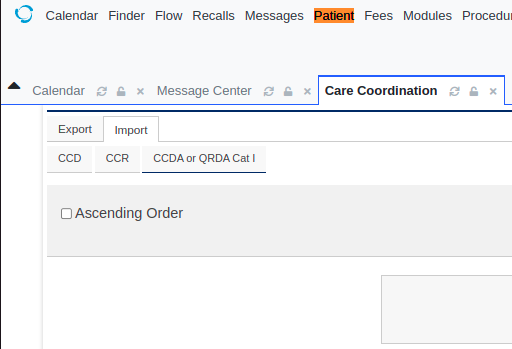
- Select the Import tab and make sure you select the CCDA or QRDA Cat 1 tab inside the import area
- Use either the upload button
 or drag your QRDA Cat 1 xml files to the upload area of the page
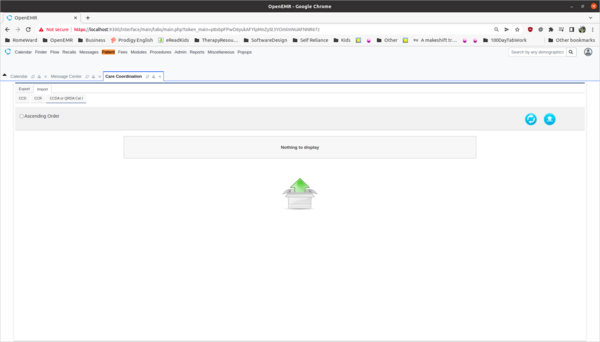
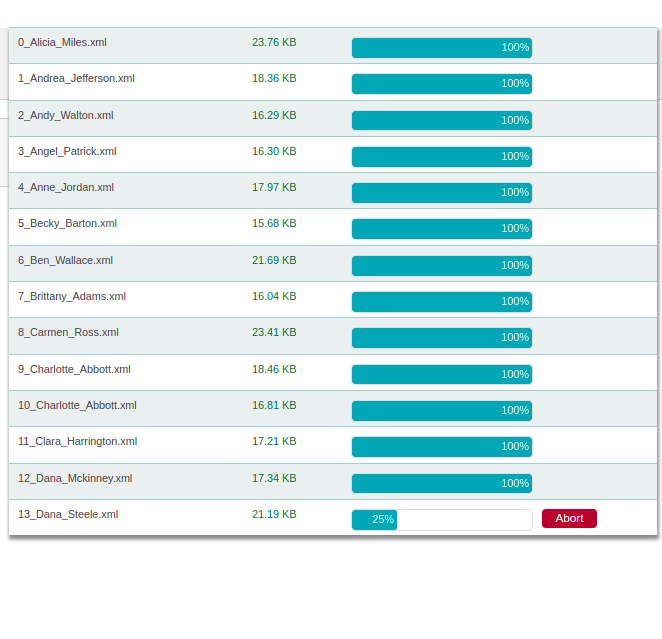
- Wait for your import files to finish uploading.
- Check for any duplicates. If you have duplicates follow the Clinical Quality Measures Patient De-Duplication process.
- Select the Chart Pending button Carecoordination Chart Pending Button
Calculate Aggregate Report
Now that you have imported your patient documents you can generate an aggregated QRDA document (Category III / Category 3) document to submit to CMS. To do that you can follow these steps:
- Open the Care Coordination Module by going to the main menu and opening Modules -> Carecoordination
- Open the export tab [picture]
- Click the search button [picture]
- Select the measure(s) you want to export [picture]
- For more advanced search settings (filter by provider, billing facility, etc) see the Advanced Search Settings section
- Hit the search button [picture]
-
You will see a list of patients that you can export. Select the checkboxes next to the patients you wish to export. You can also select the checkbox at the top of the column to select everything.
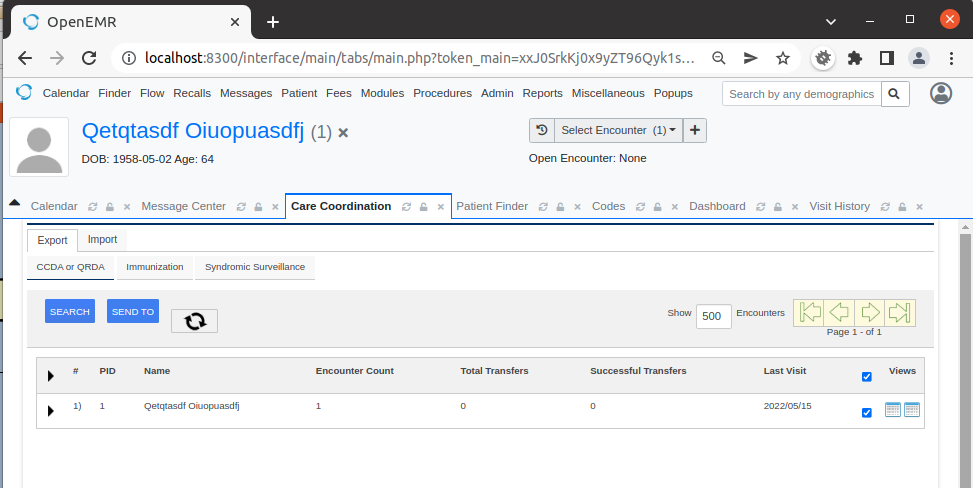
- Now click the Send To button [picture]
- Select the Download option [picture]
- Choose the QRDA III option, the measures you wish to send (multiples can be selected by holding down CTRL), and then press the Send button [Picture]
- Wait for the file to download. Once you have the downloaded file upload it to the CMS eCQM website portal
Export Advanced Search Settings
In the Carecoordination Search button you can get to the advanced settings by selecting the Advanced Settings heading [picture]
The following settings can be used to modify your search parameters: [Picture]
- Search By - Choose the date field you want to use for filtering the patient records. Current options are:
- Encounter Date - include patients where they have at least one encounter service date that matches the start and end date of the encounter
- Patient Creation Date - include patients where the patient was created between the start and end date chosen.
- Provider (Encounter Relationship) - Selecting a specific provider will filter only those patients that have an encounter relationship with this provider.Note: Only providers that have an NPI number will be in this list.
- Billing Facility (Encounter Relationship) - Selecting a specific billing facility will filter the carecoordination patients displayed to only include patients that have an encounter that have this assigned billing facility